Hiring a singer can be very expensive especially if you’re a startup Music Producer. They say that you can discover your talent by practice and with the help of technology you can also become a singer.
Excited about how to become one?
The good part is that you don’t need to have a fancy studio. Let me share my experience to guide you and give tips on how to sound perfect on your acapella.
Set up or find a perfect recording area
- Recording in a tiny room with flat, square, bare walls is not recommended. This causes the sound waves to bounce about and interfere with one another. Larger rooms with furniture, rugs, drapes, and wall coverings will improve the sound quality of your recording.
Eliminate noises in your recording area
- Remove as much background noise as possible. Keep children and pets out, close doors and windows, switch off the television and other music, and wait until the jackhammering outside your window ends.
- If the room is still echoey, place some cushions against the wall and hang blankets. They create excellent low-cost acoustic panels.

Prepare your voice
- We don’t want to put stress on our vocal cords. Even professional athletes undergo preparation before going to the game. This is the same as recording. You need to warm your voice so that it will produce clear sounds.
Check out this blog about “5 of the Best Daily Vocal Exercises for Singers”:
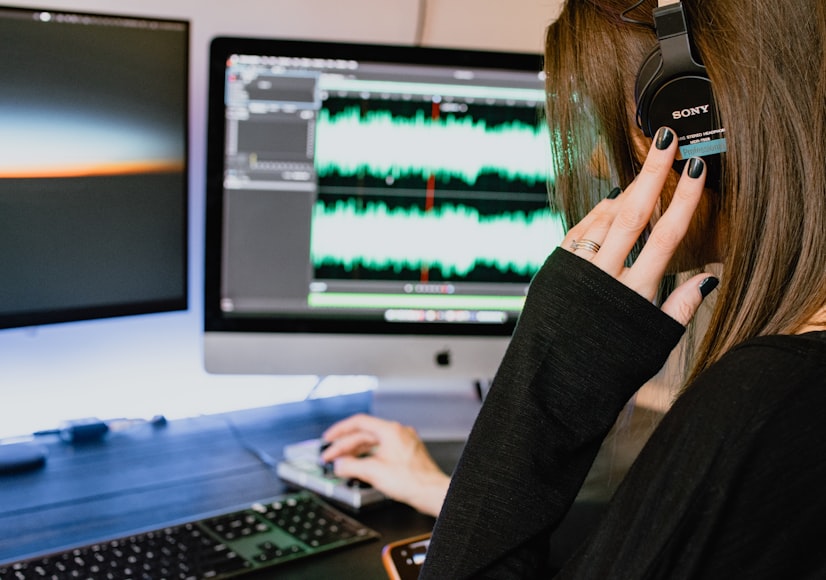
Use a DAW software (Digital Audio Workstation)
- To record your voice over a piece of music, you’ll need a USB microphone or an audio interface to digitalize your voice, as well as a DAW (Digital Audio Workstation) to record it with (such as Audacity). Audacity is also absolutely free, which is fantastic.
You can download Audacity here. https://www.audacityteam.org/download/
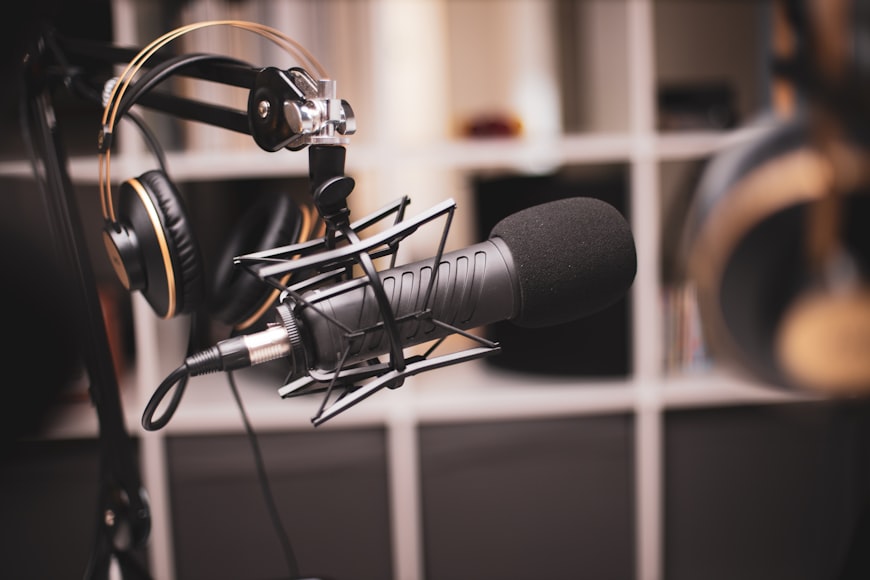
Get yourself a good quality of Microphone
- Using your earphone or any noise-canceling headphones that you have right now is already enough to record your voice. But If you’re planning to be a successful producer, you need to invest in getting quality pieces of equipment. Trust me it’s worth the investment.

There are two types of Microphones to choose from:
1. Condenser microphones are perfect for catching the low, mid, and mid frequencies of your voice. They work with phantom power (48 volts) and can generate a warmer tone, which is popular for singing. Furthermore, your ear is accustomed to hearing vocals with condenser mics because they are the industry standard in recorded music. When adding vocals to background tracks, a condenser microphone should be your first choice.
You can check this condenser microphone from Amazon.
2. Dynamic microphones are the most ubiquitous and affordable microphones on the market, and they can be found on almost every stage in the globe. They don’t require any additional current (phantom electricity) to operate, but they lack the warmth of condenser microphones. If you have this microphone at home or on hand, it will do the job, but the results will not be as nice as with a condenser microphone.
You can check this dynamic microphone from Amazon.

Record your voice
- Standing in front of a microphone should also be part of your preparation. In the room, the distance between the microphone and the lips is kept constant. Because you’ll be standing quite motionless while recording your song in a room, it’s a good idea to practice beforehand. Singers who are inexperienced in front of the microphone make fidgety head movements, which might spoil a recording. The following are examples of common microphone techniques:
1. Breath Control Sounds
With each breath, turn your head to the side to avoid breathing sounds that will need to be taken out later.
2. Volume Control
As the level gets softer, move closer to the microphone; as the sound gets higher, move farther away. This will help to smooth out volume swings, reducing the amount of compression required later.
3. Sibilance and popping should be avoided
Popping is the act of pronouncing syllables with P’s and B’s in a way that produces extra bursts of air.
Excessive hissing when creating S’s and F’s sounds is known as sibilance. These extra bursts of sound will go unnoticed in everyday speech but will be painfully audible in recordings. Popping and sibilance can be reduced by changing your angle and distance from the microphone.
Conclusion
Congratulate yourself on finishing this segment of the blog. If you find this content to be too much for you. No worries, you can bookmark this page and return to the steps we’ve already covered. Once you’ve mastered self-recording and are confident in your abilities, you might want to consider creating higher-quality Vocals for others to enjoy.
Which among these steps you’ve loved the most? Do you have any suggestions?
Let us know in the comment section below.


